Floral crowns are a whimsical and romantic accessory that adds a touch of natural beauty to any occasion. Whether you’re a bride looking for the perfect bridal accessory or attending a music festival, creating your own floral crown allows you to express your creativity and style. Here’s a step-by-step guide to crafting your own DIY floral crown:


1. Gather Your Materials:
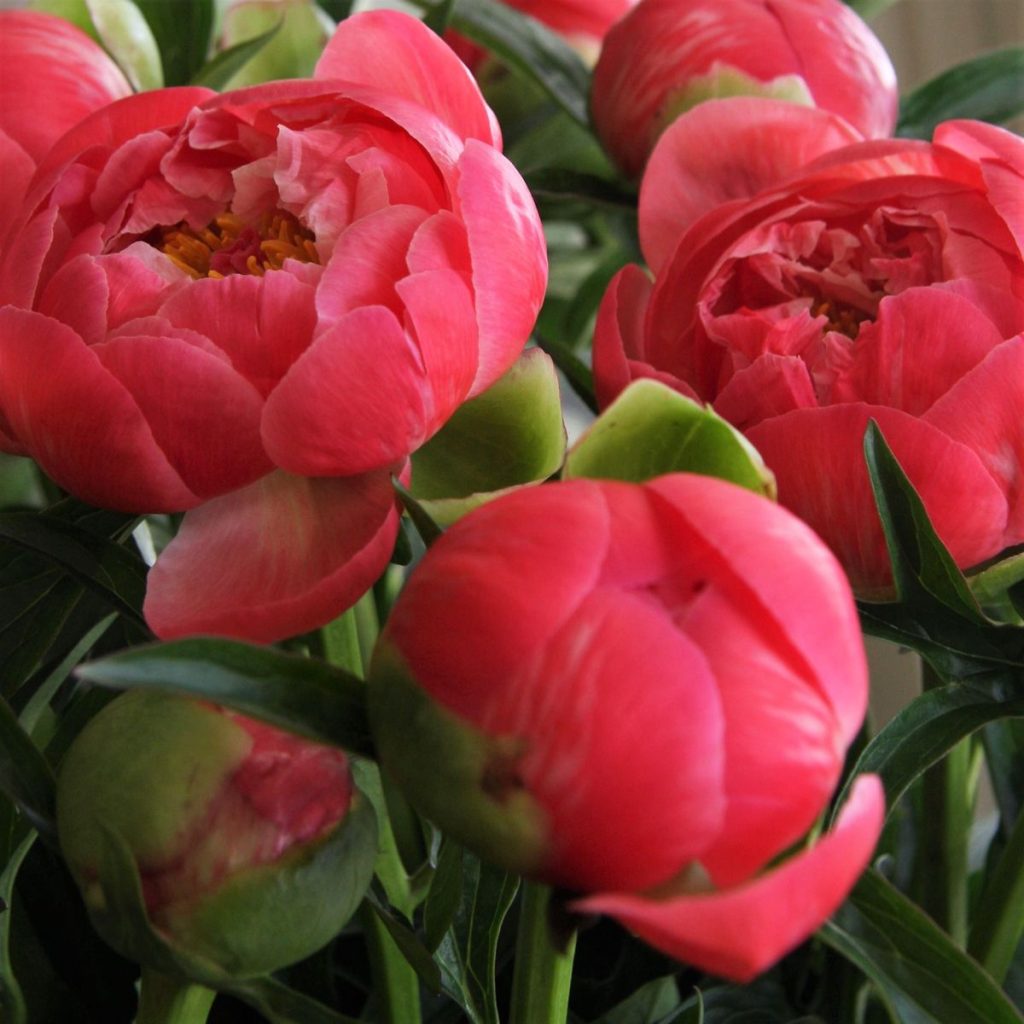
- Assorted flowers: Choose a variety of blooms in different shapes, sizes, and colors. Opt for sturdy flowers like roses, daisies, and baby’s breath that hold up well in arrangements.
- Floral wire or flexible green wire: Use wire that is easy to bend and manipulate to create the base of your crown.
- Floral tape: Wrap the wire with floral tape to create a smooth and sturdy base for attaching the flowers.
- Wire cutters: Use wire cutters to trim the floral wire and stems of the flowers.
- Ribbon or twine: Choose a ribbon or twine that complements the colors of your flowers and adds a decorative touch to the crown.
2. Create the Base of the Crown:
- Measure the circumference of your head and cut a piece of floral wire to size, leaving a few extra inches for overlapping.
- Shape the wire into a circle and twist the ends together to secure the base of the crown.
- Wrap the entire length of the wire with floral tape to create a smooth surface for attaching the flowers.
3. Prepare Your Flowers:
- Trim the stems of your flowers to about 2-3 inches in length, leaving enough length to secure them to the crown.
- Remove any excess foliage or leaves from the stems to create clean and neat arrangements.
4. Arrange Your Flowers:
- Start by attaching the larger blooms to the crown using floral wire or floral tape. Secure the stems to the base of the crown, overlapping them slightly to create a layered effect.
- Continue adding flowers, alternating colors and sizes to create a balanced and visually appealing arrangement.
- Fill in any gaps with smaller blooms or sprigs of greenery to add texture and dimension to the crown.
5. Secure the Flowers:
- Once you’re happy with the arrangement of your flowers, use floral wire or floral tape to secure them to the base of the crown. Wrap the wire or tape around the stems several times to ensure they are firmly attached.
6. Add Finishing Touches:
- Tie a piece of ribbon or twine around the back of the crown to conceal any exposed wire or tape.
- Trim any excess wire or stems from the back of the crown using wire cutters.
- Optional: Add additional embellishments such as beads, pearls, or feathers for a unique and personalized touch.
7. Wear and Enjoy:
- Once your floral crown is complete, carefully place it on your head and adjust it as needed to ensure a comfortable and secure fit.
- Wear your floral crown with pride at weddings, music festivals, or any other special occasion, and enjoy the beauty of your handcrafted creation!
Conclusion:
Creating your own DIY floral crown is a fun and rewarding project that allows you to showcase your creativity and style. Whether you’re walking down the aisle or dancing the night away at a festival, a floral crown adds a touch of natural beauty and whimsy to any ensemble. With a few simple materials and a bit of creativity, you can craft a stunning floral crown that will be the envy of all who see it. So gather your flowers and get ready to create a one-of-a-kind accessory that is as unique as you are!